

One thing I often hear from fans of LEGO Speed Champions is that the stickers can divide groups.
On one hand, its obvious that the use of stickers keeps production costs way down… creating a range of sets that are indeed affordable.
But on the other hand, stickers also have many setbacks. One being the accuracy in positioning… then there is the potential of causing great frustration as it can be a “one shot chance” as a sticker is placed.
During a recent discussion with Dalton from Brick Mccoy on this very topic, a challenge was laid down.
Could it be possible to bypass the use of the sticker sheet and print all the required panels on a Speed Champions set?
This challenge was stirring here at Wez’s World for some time. Until, that is… a Speed Champions set landed on the workbench!
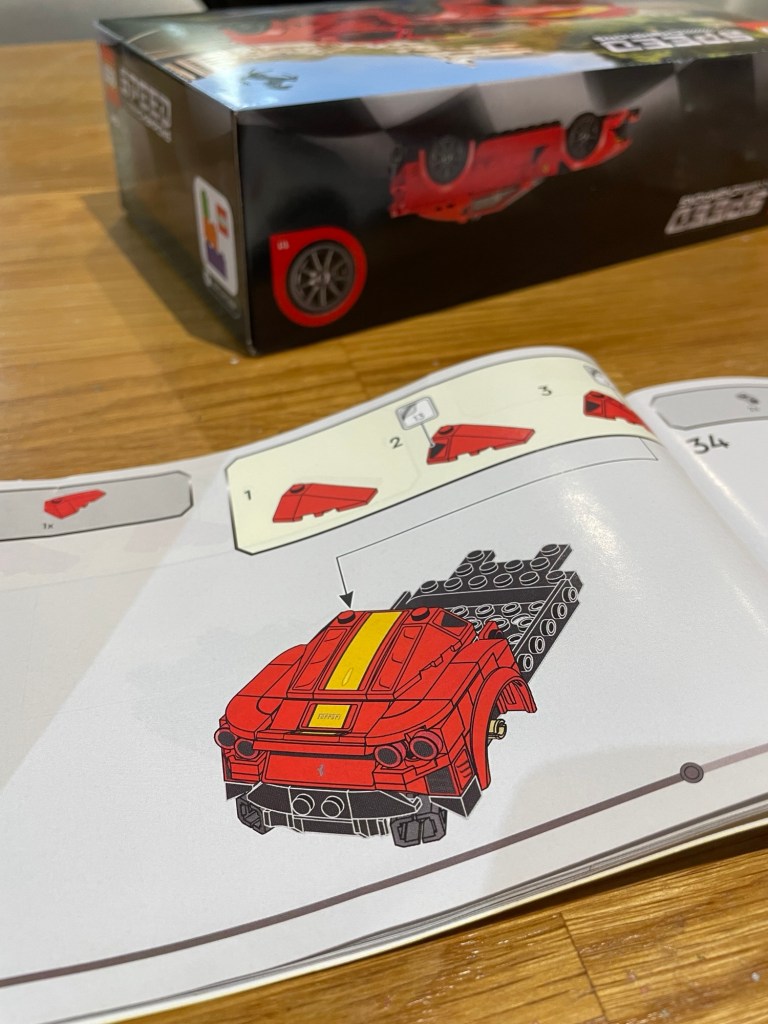
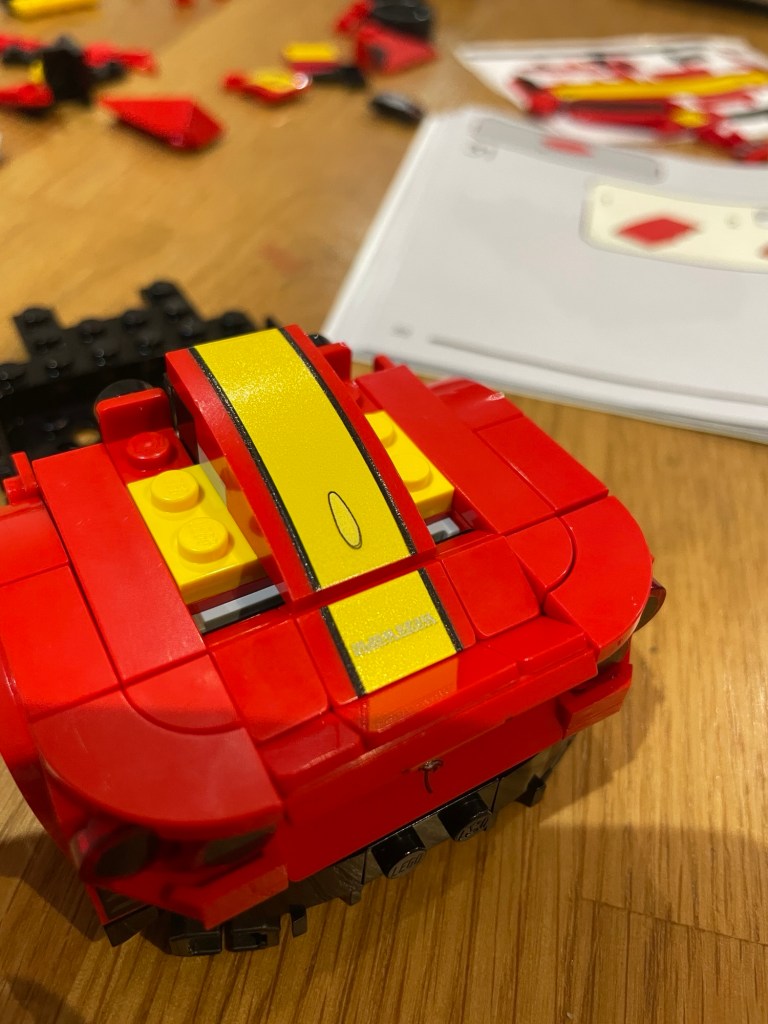
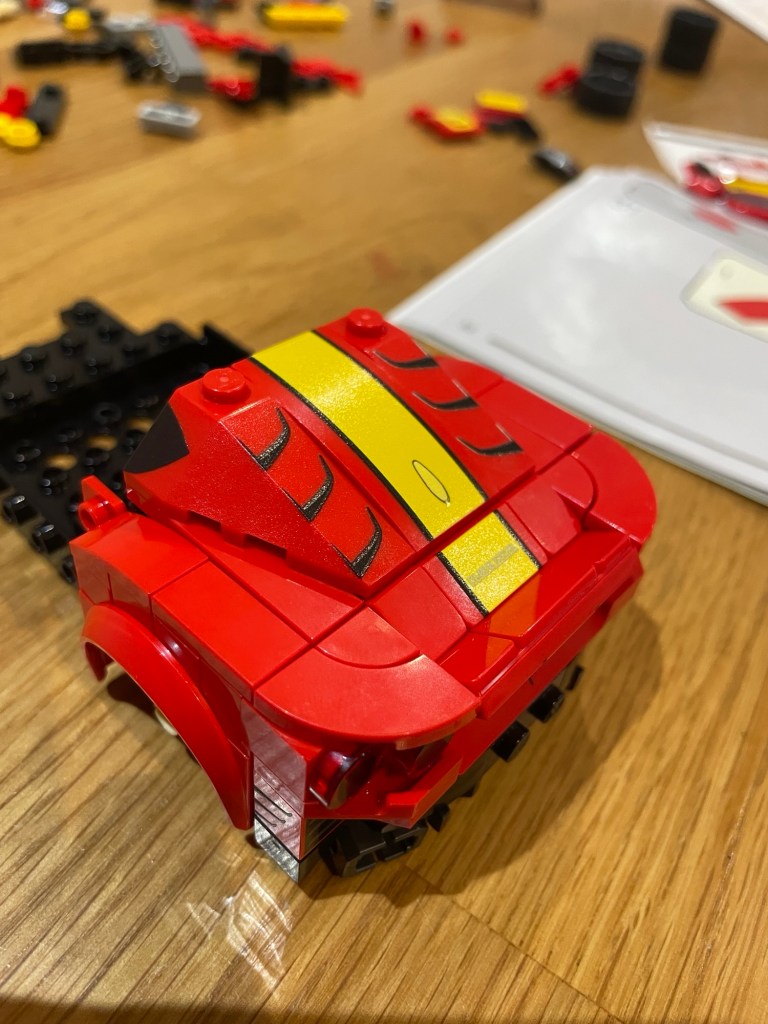
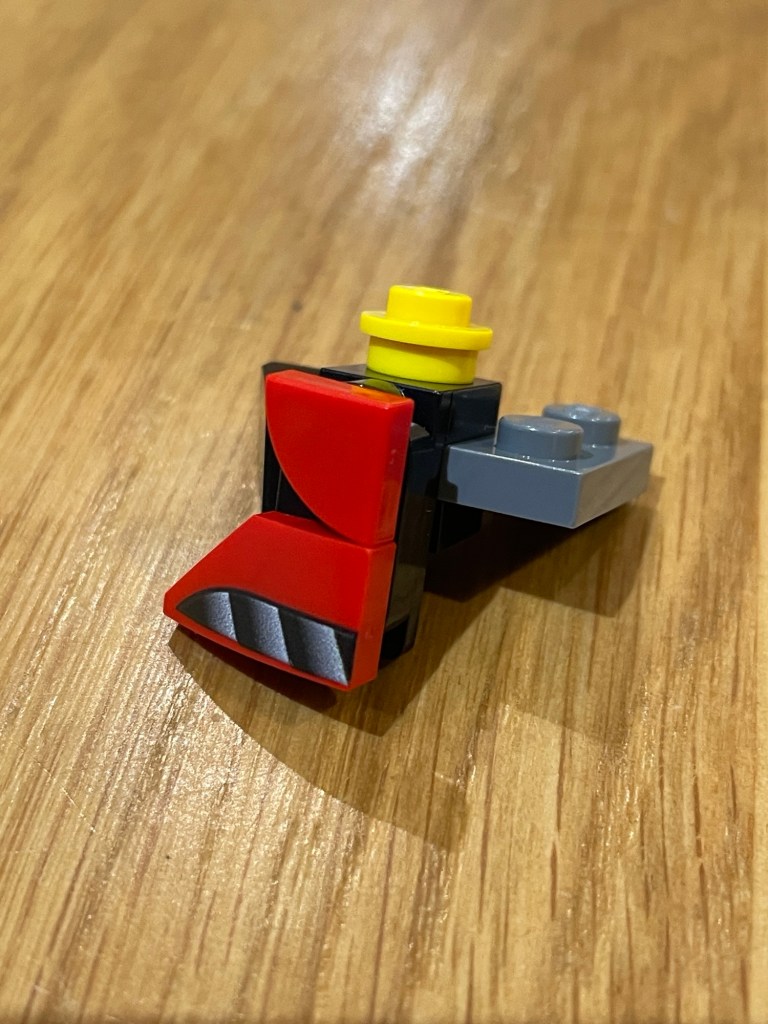
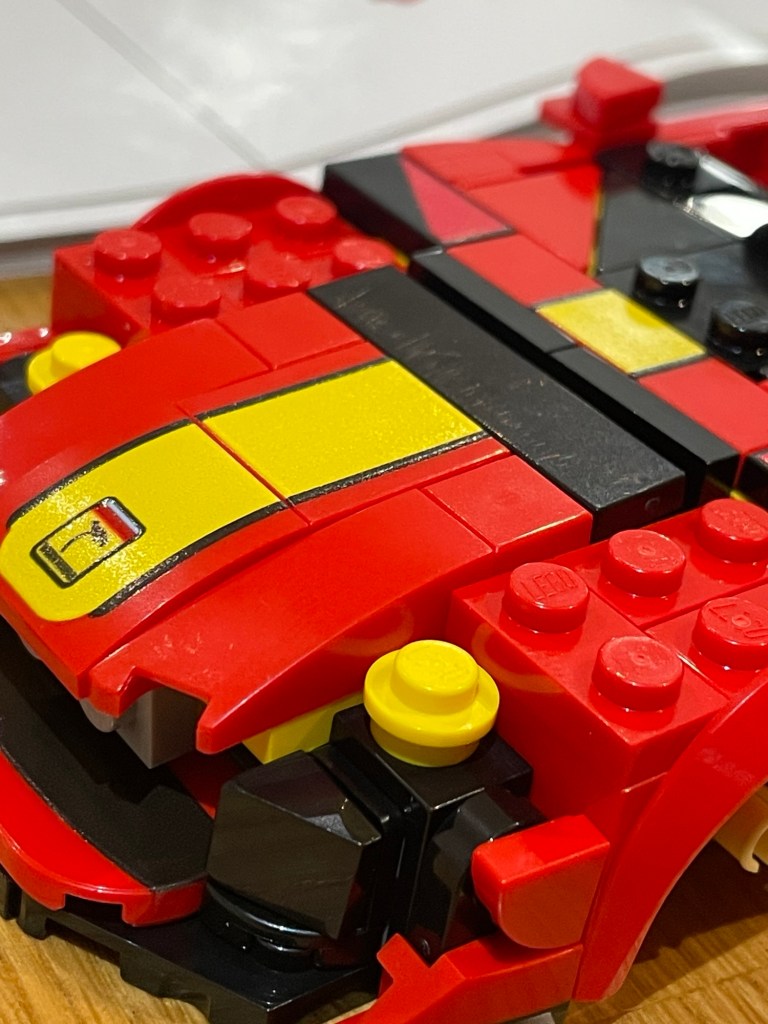
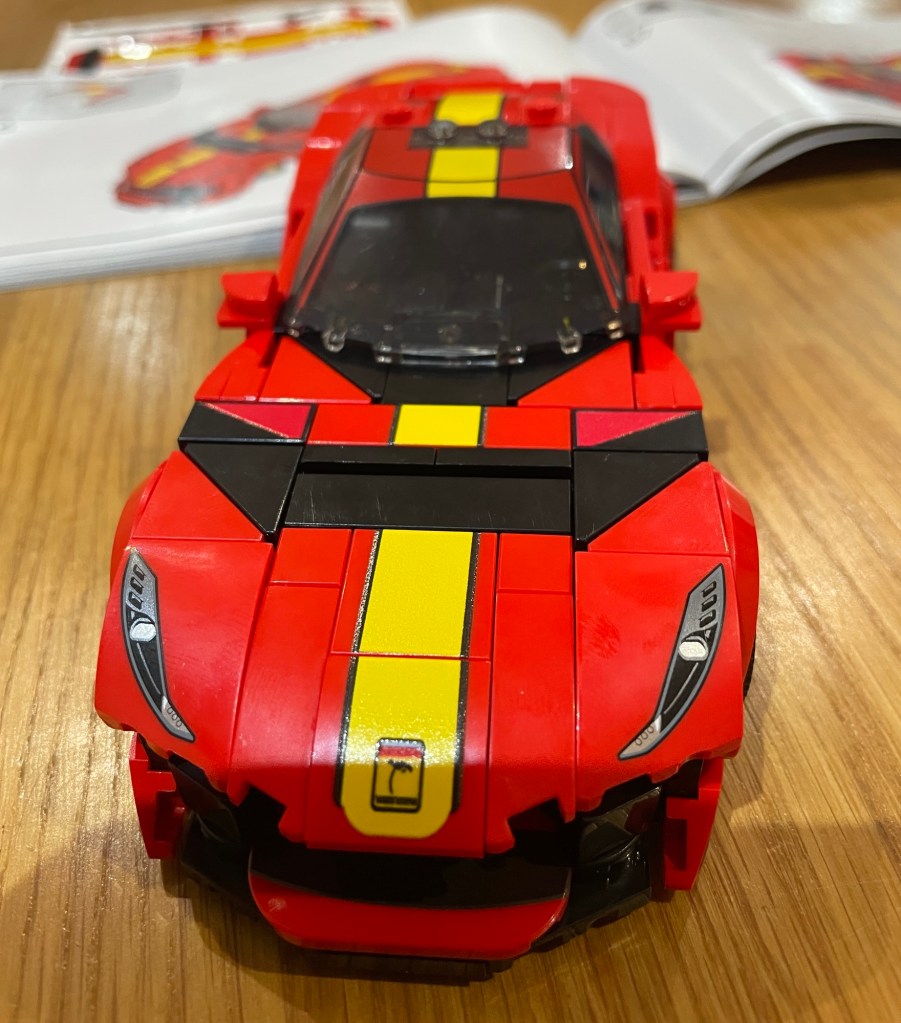
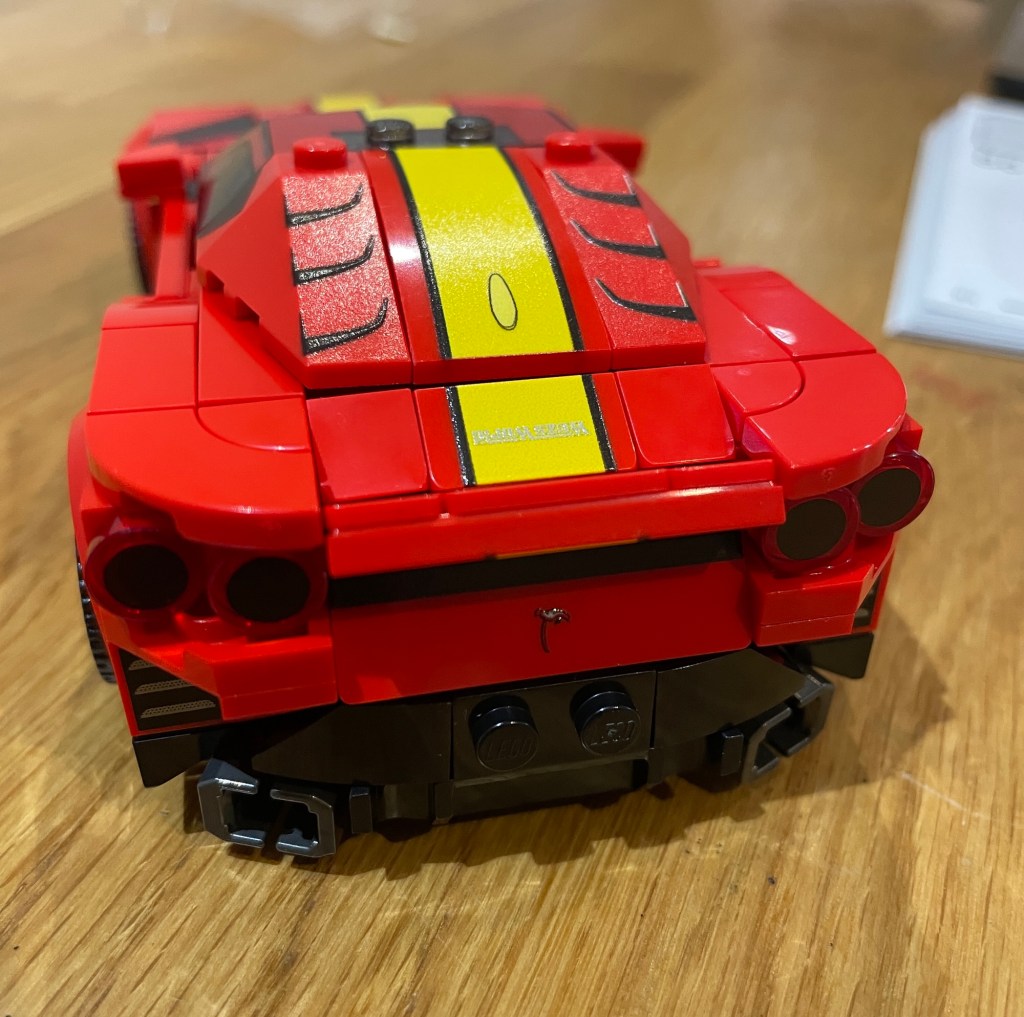
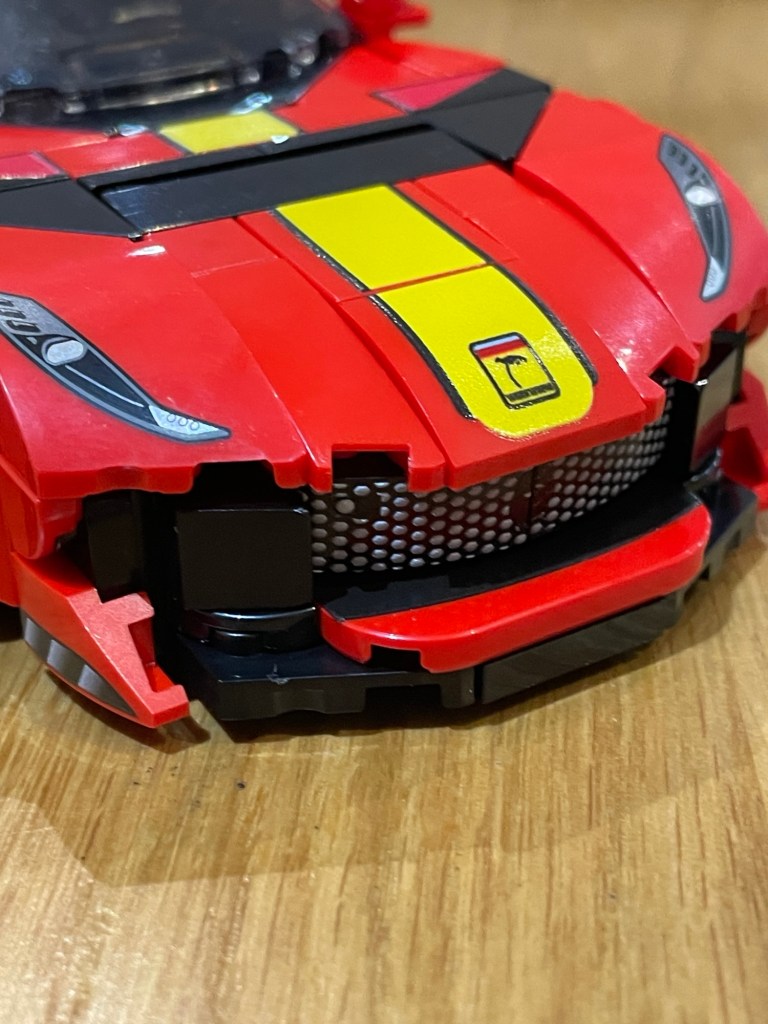
The car in focus: The Farrari 812 Competizione.
This challenge was purely for fun, and a personal project based on trying to explore and push brick print techniques.
So… with the challenge set, and the box open… Im sure I can here your next question…”just where do you begin on such a project?”
Well… like all good print projects… it all begins with the artwork!
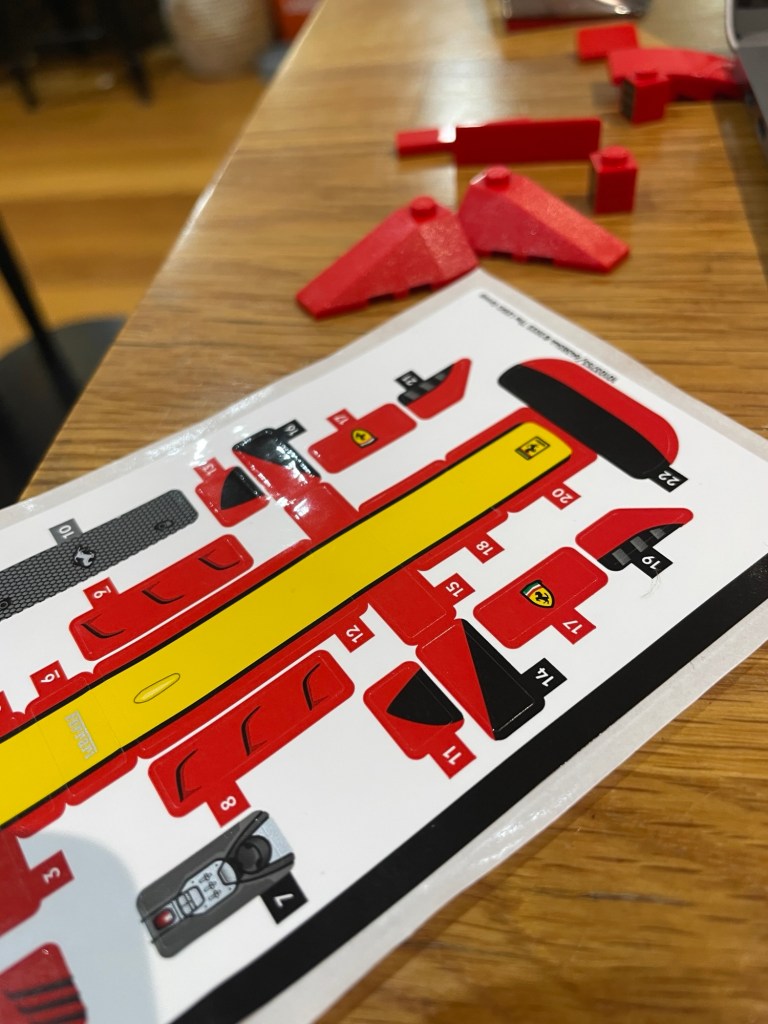
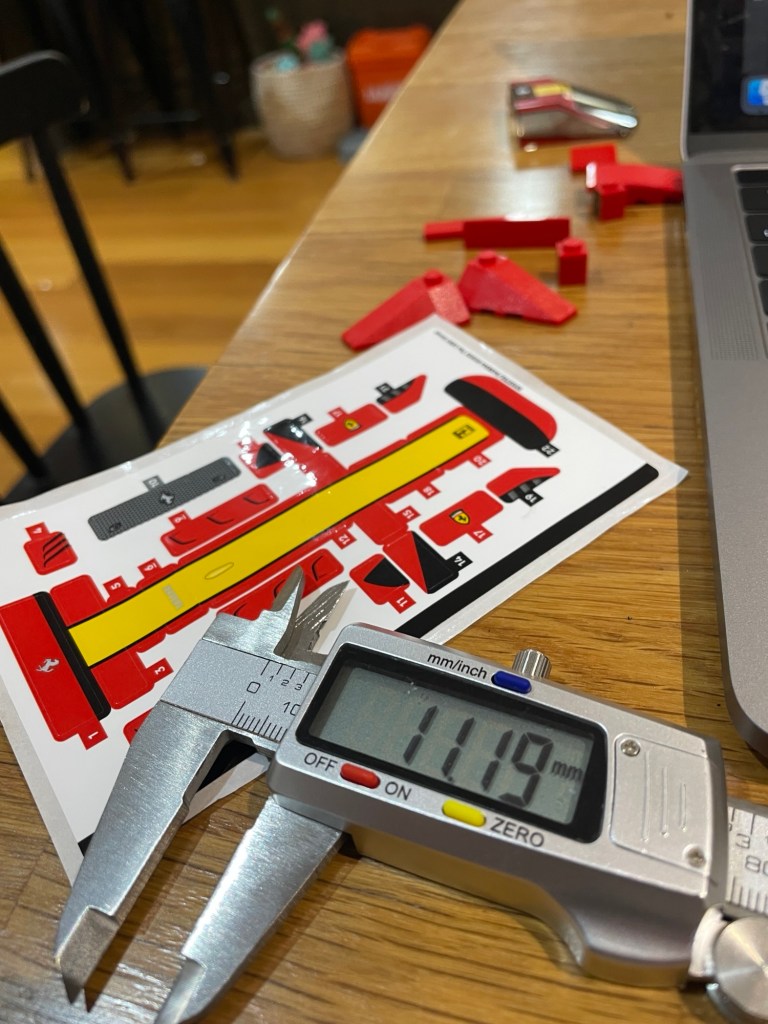
And for this artwork… careful and meticulous understanding of the parts, pieces and designated stickers was required. So… it was time to measure, compare, measure and measure again.
Then it was time to design…
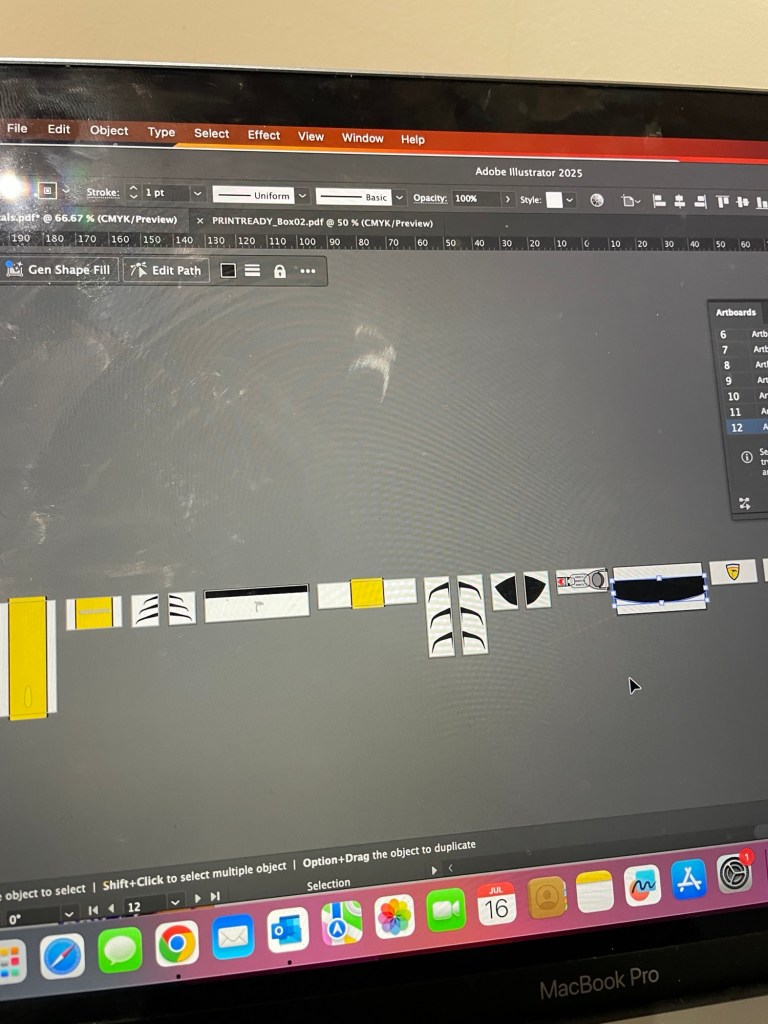
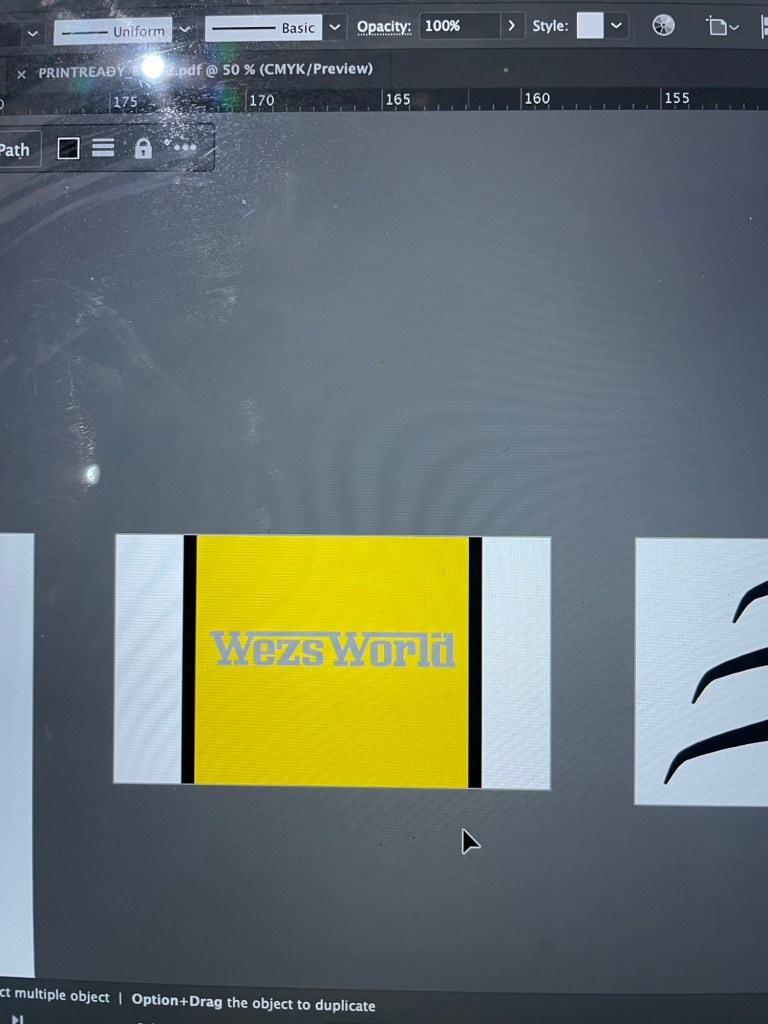
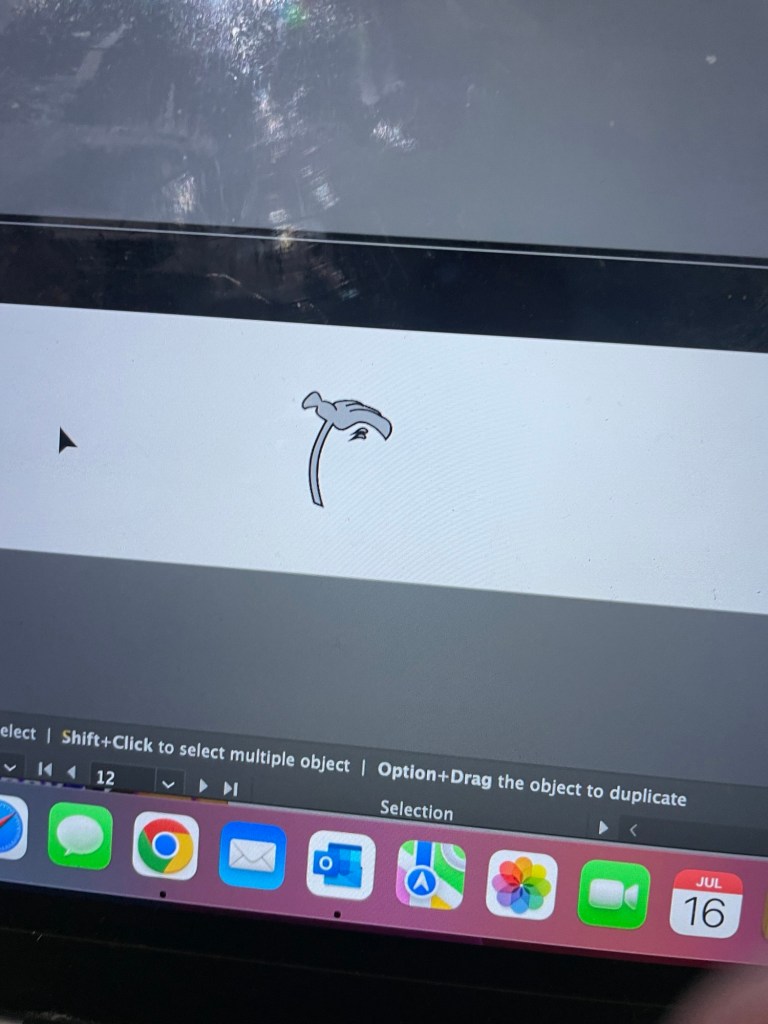
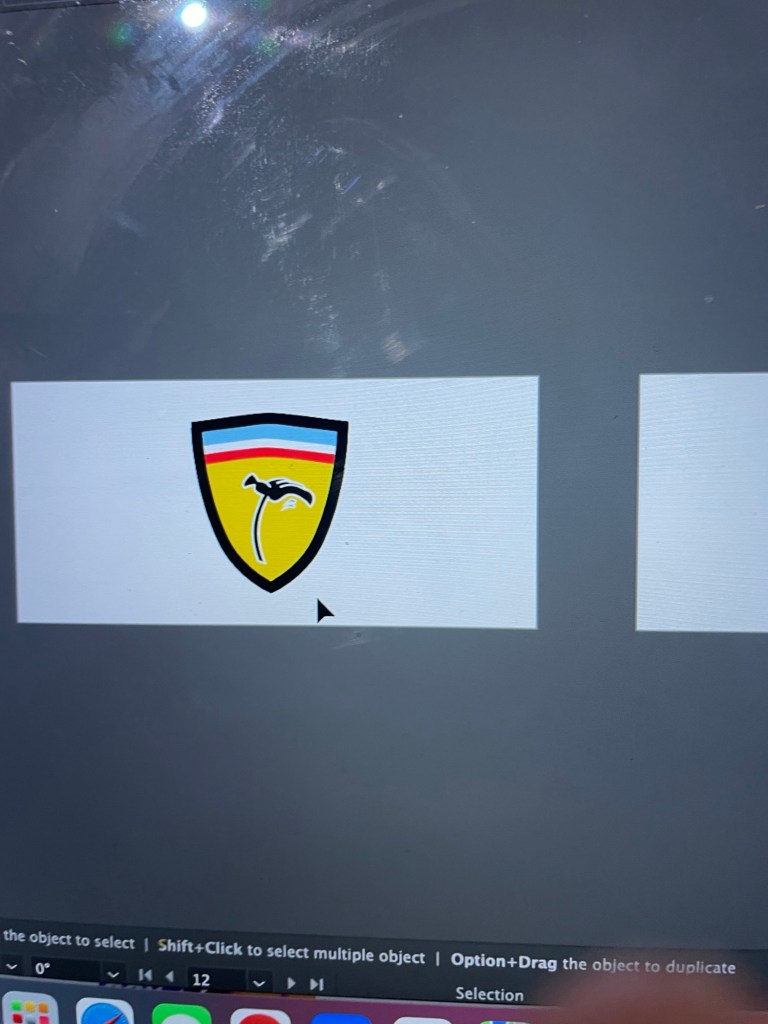
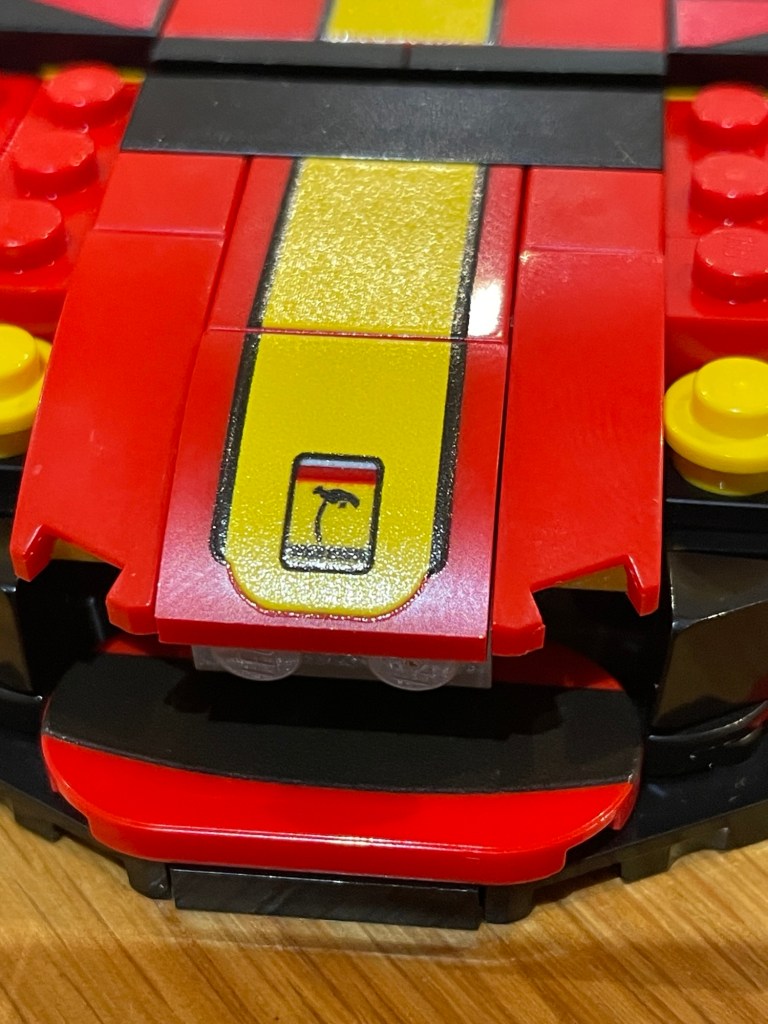
And I decided it would be fun … and not to mention to ensure I did not risk issues with branding… to swap out logos to give the car a unique “wez’s world” flair…
And after the artwork was meticulously measured and complete, it was time to get printing!
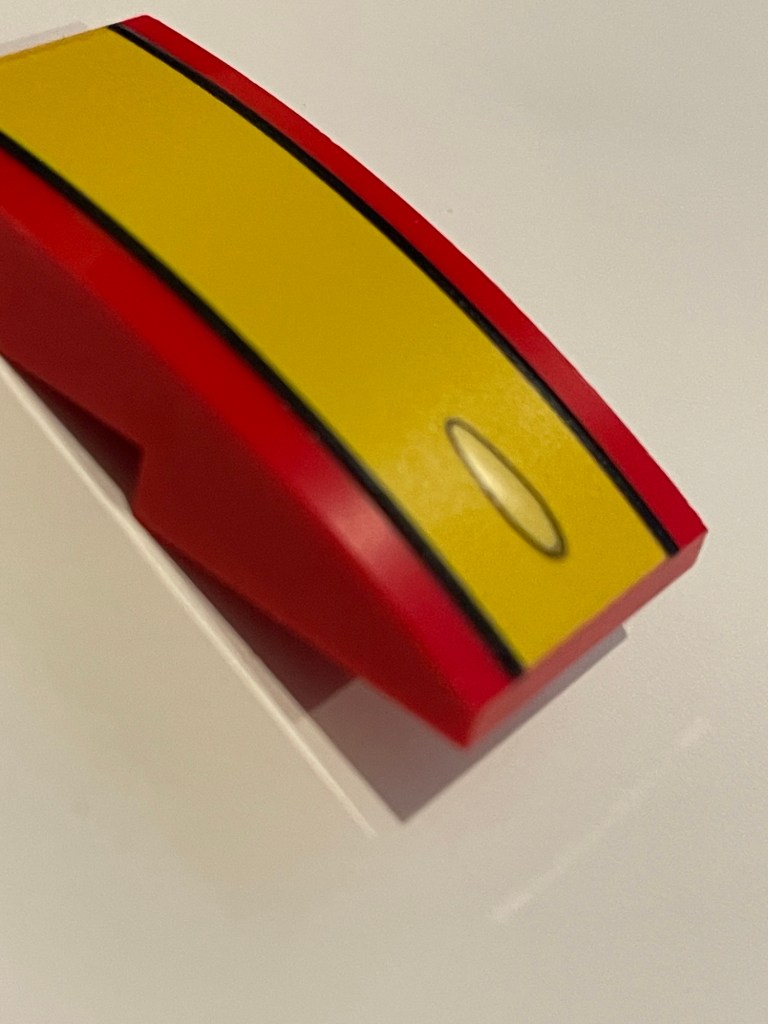
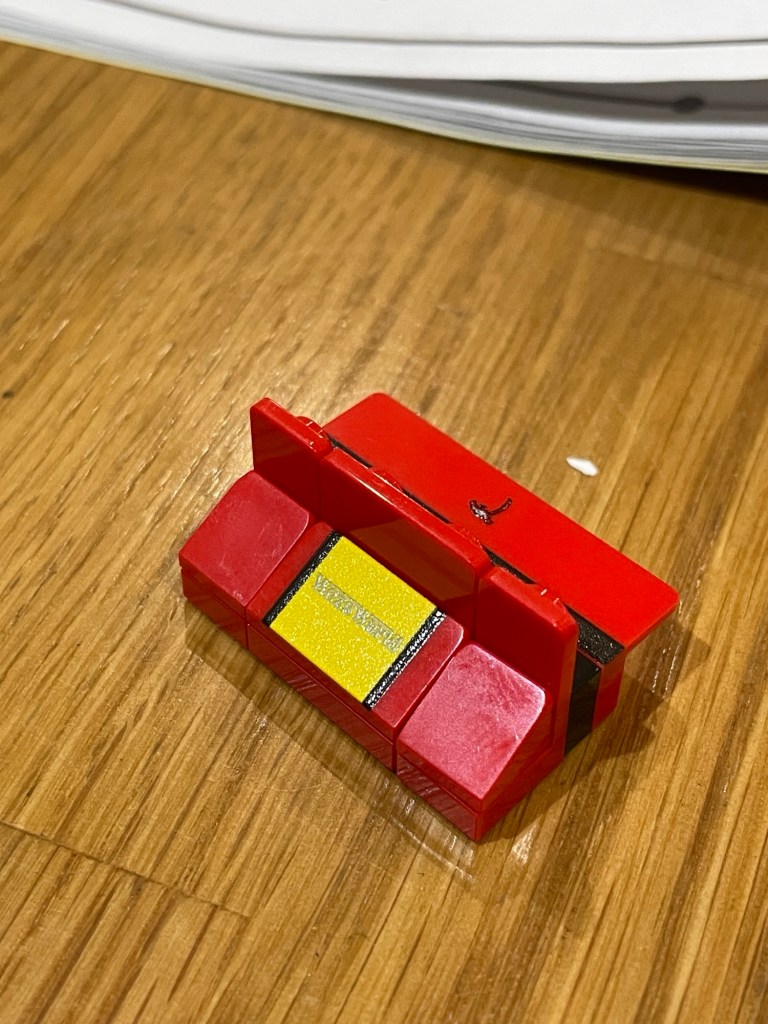
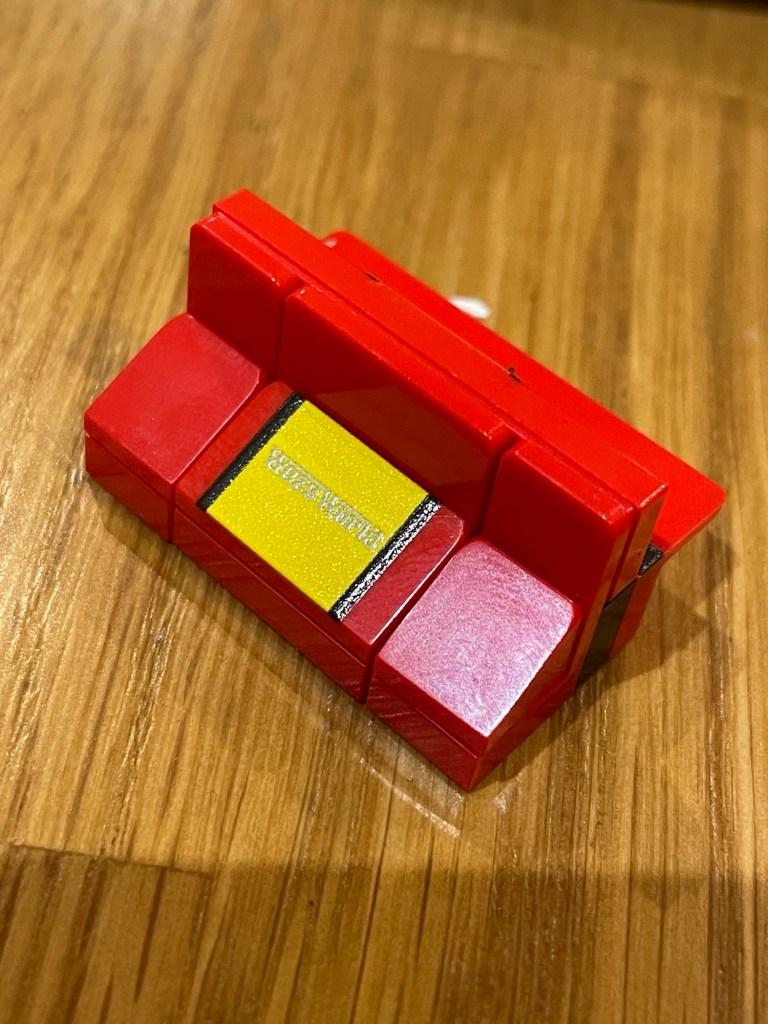
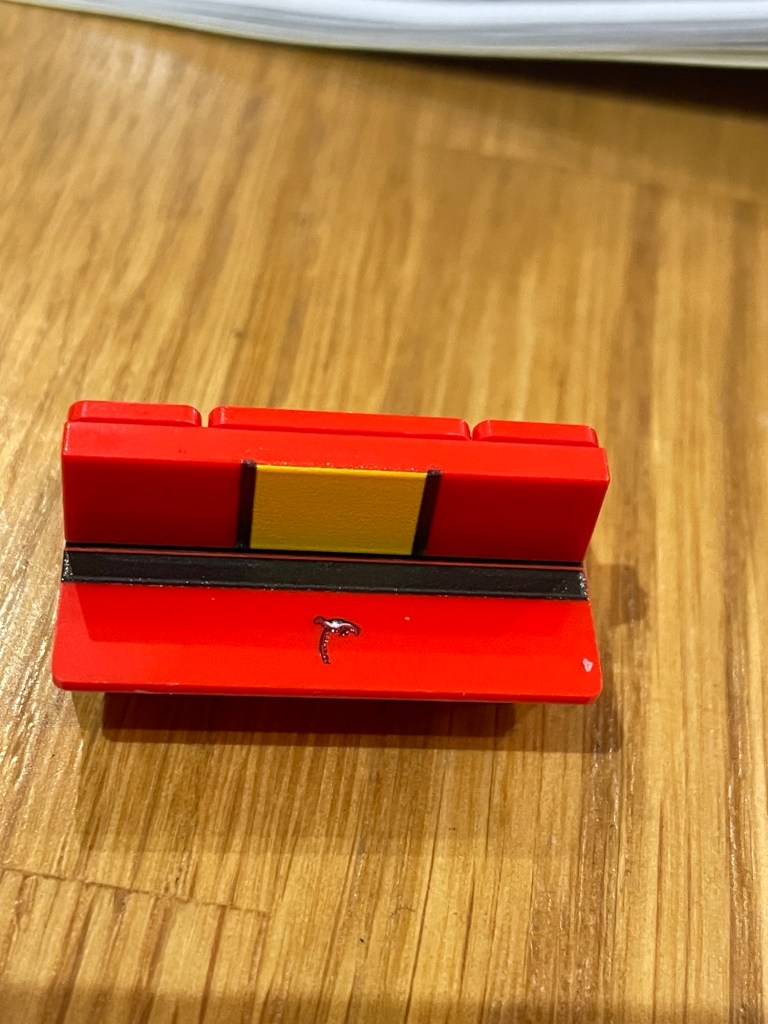
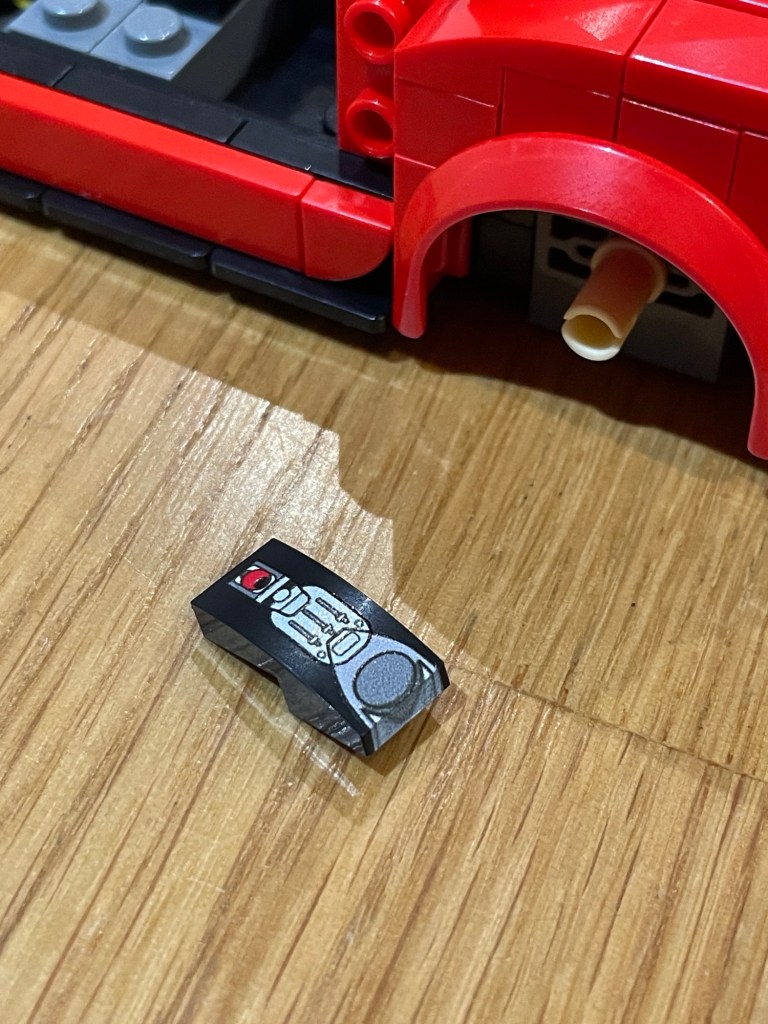
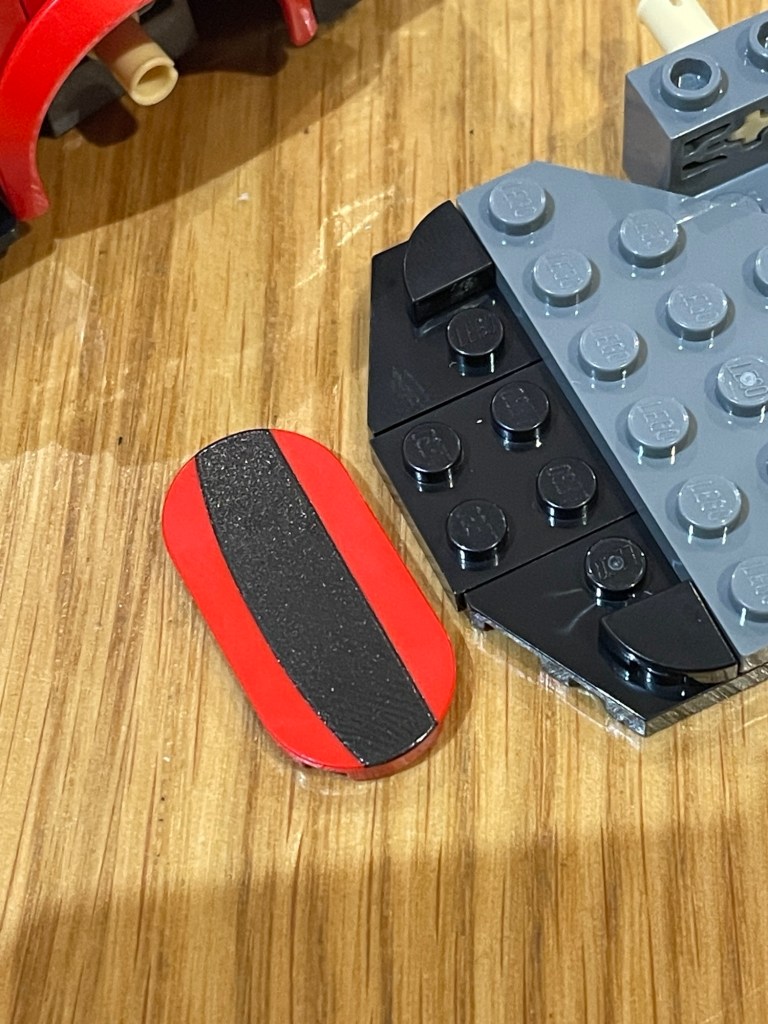
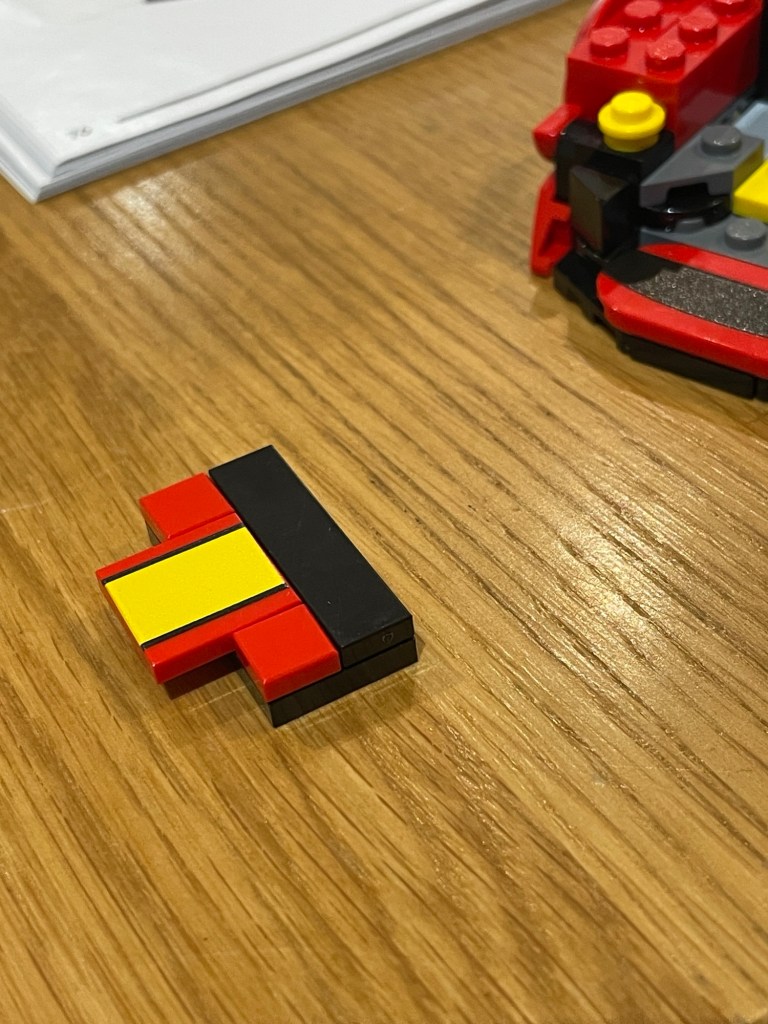
It is amazing when you share just what goes into printing those tricky bricks with pinpoint accuracy… many are gobsmacked at the jigs and braces built using LEGO… just check out what it took to get this 2×4 curved slope in the correct orientation and angle!
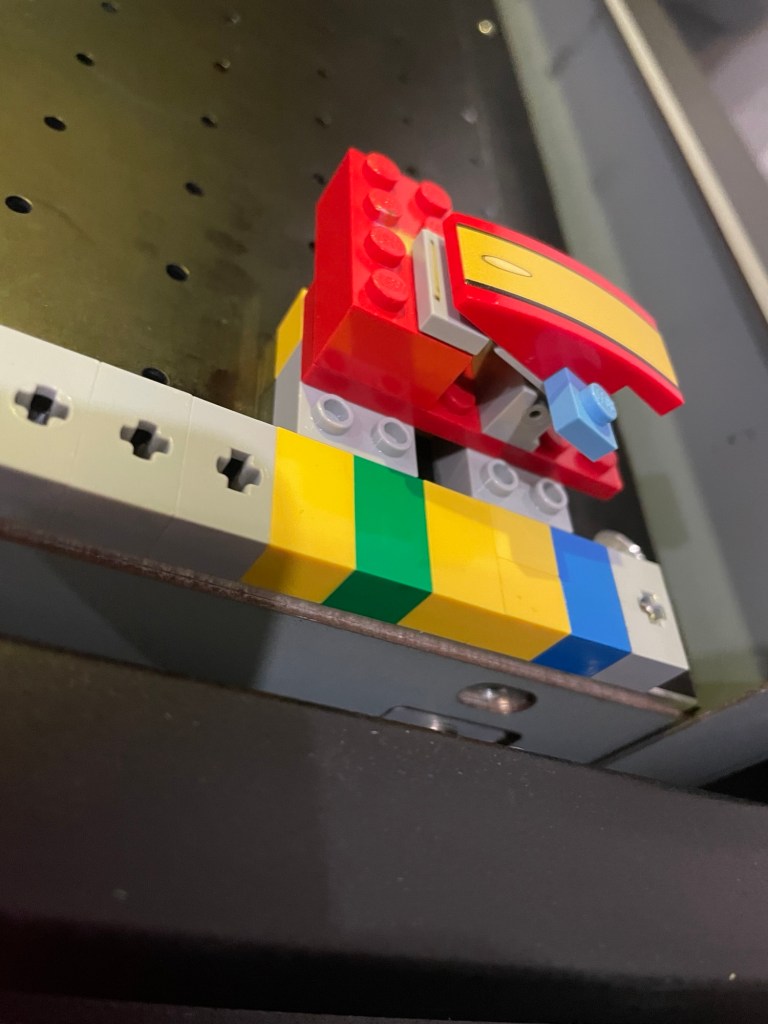
It seems crazy, but its a specific, focussed and educated approach that ensures the highest possible quality and accuracy in positioning. And hey… why not build jigs using the greatest building tool ever!
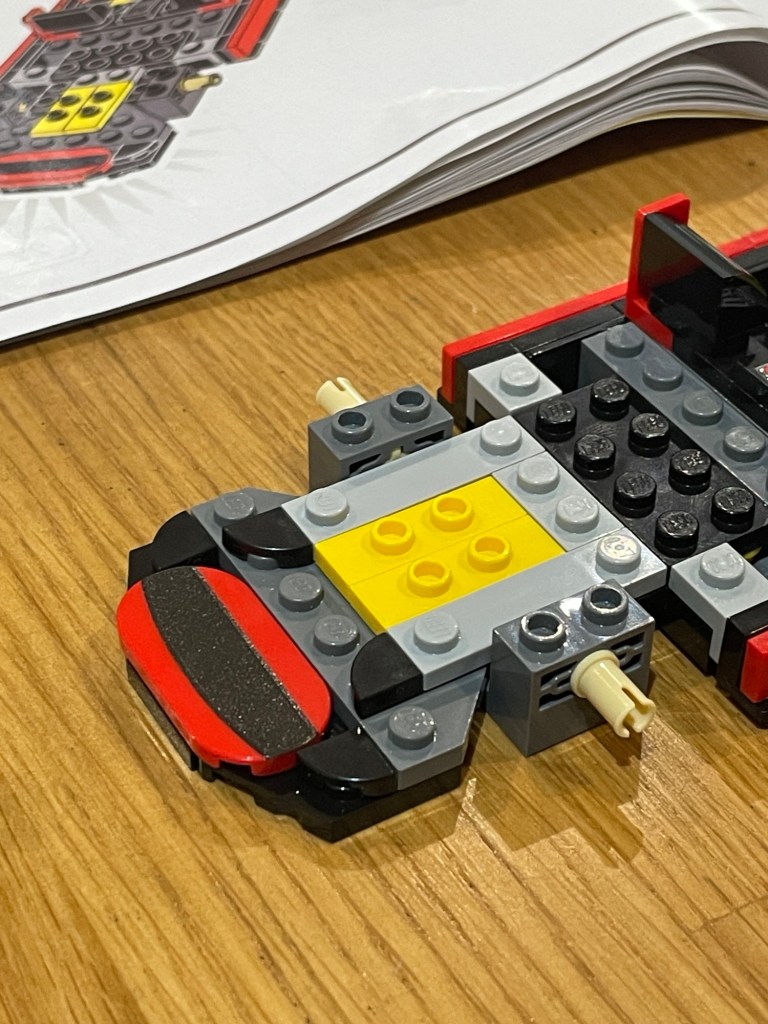
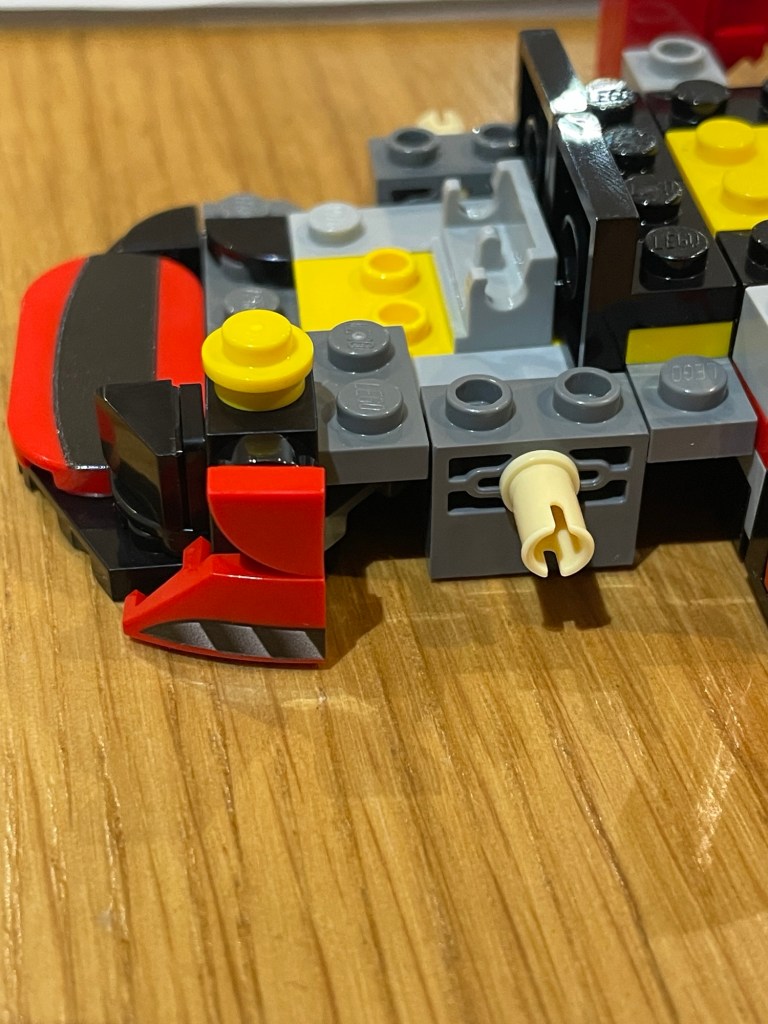
And soon… piece after piece was added to the “done” pile.

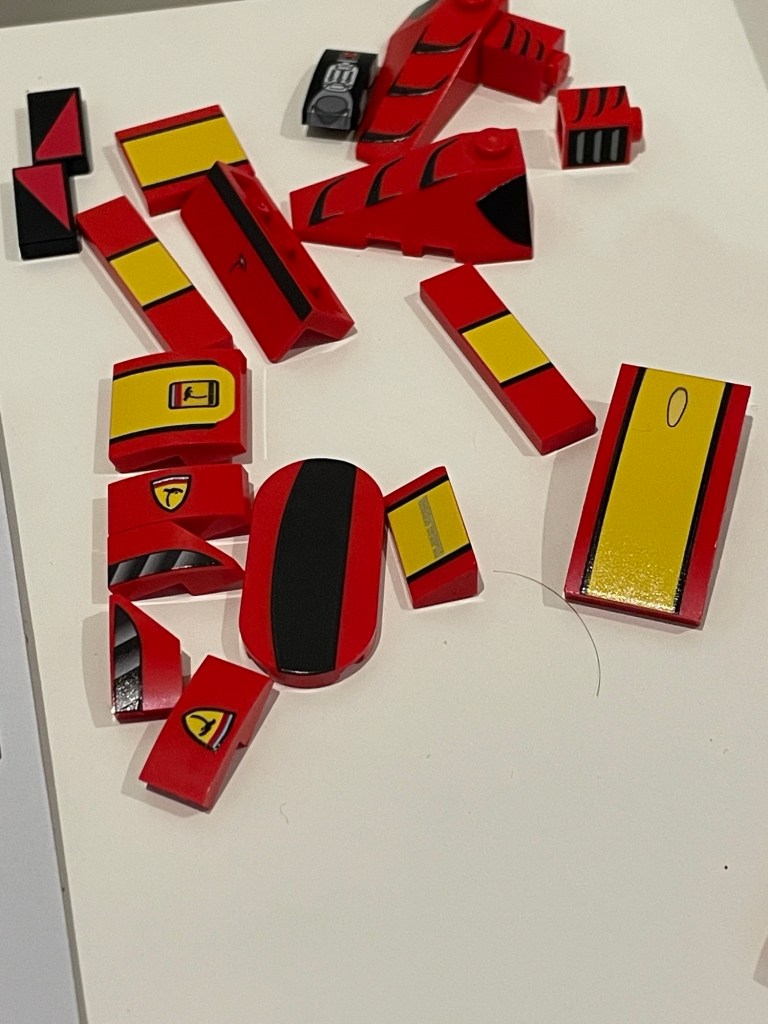
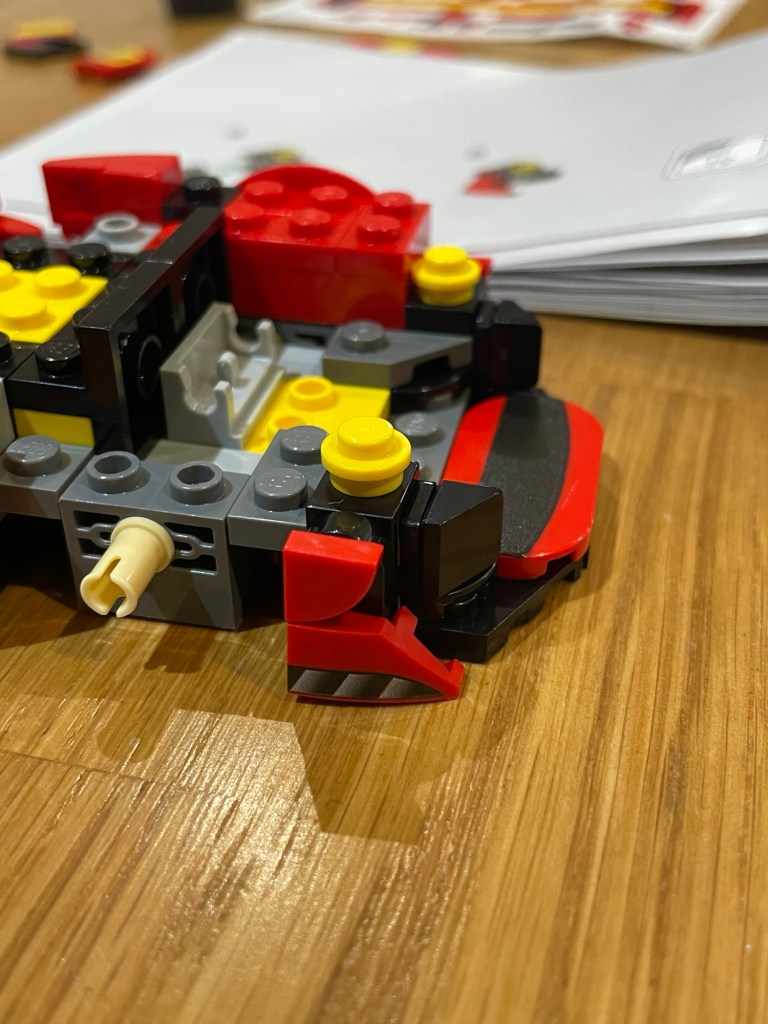
And before long… everything was ready!
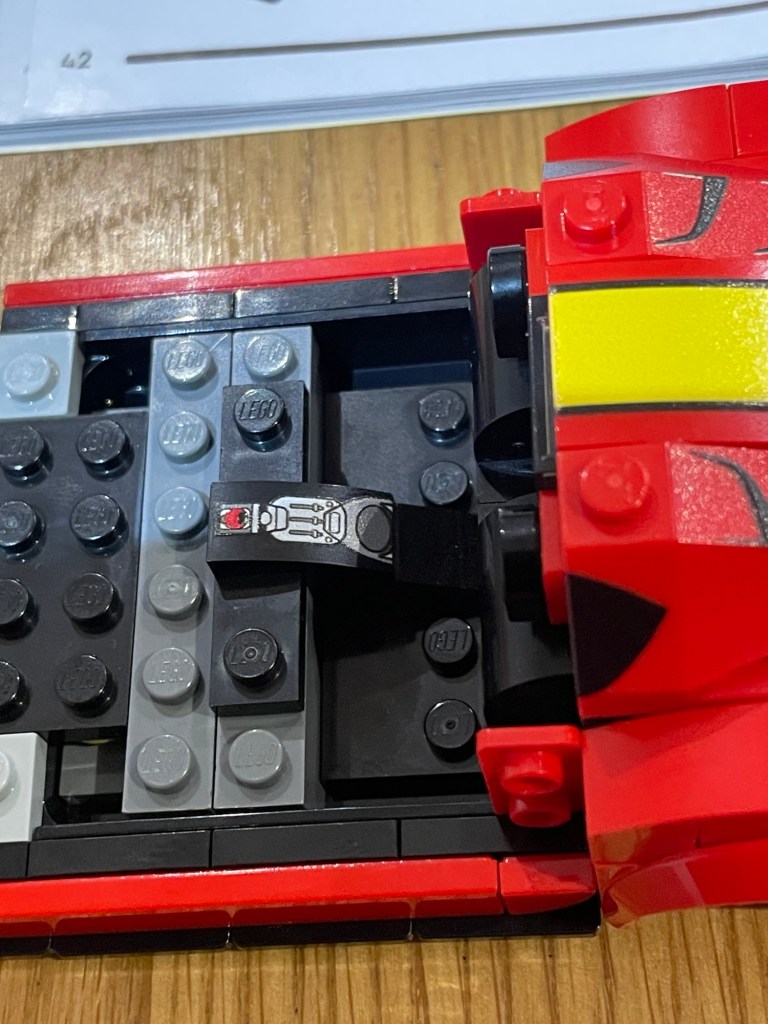
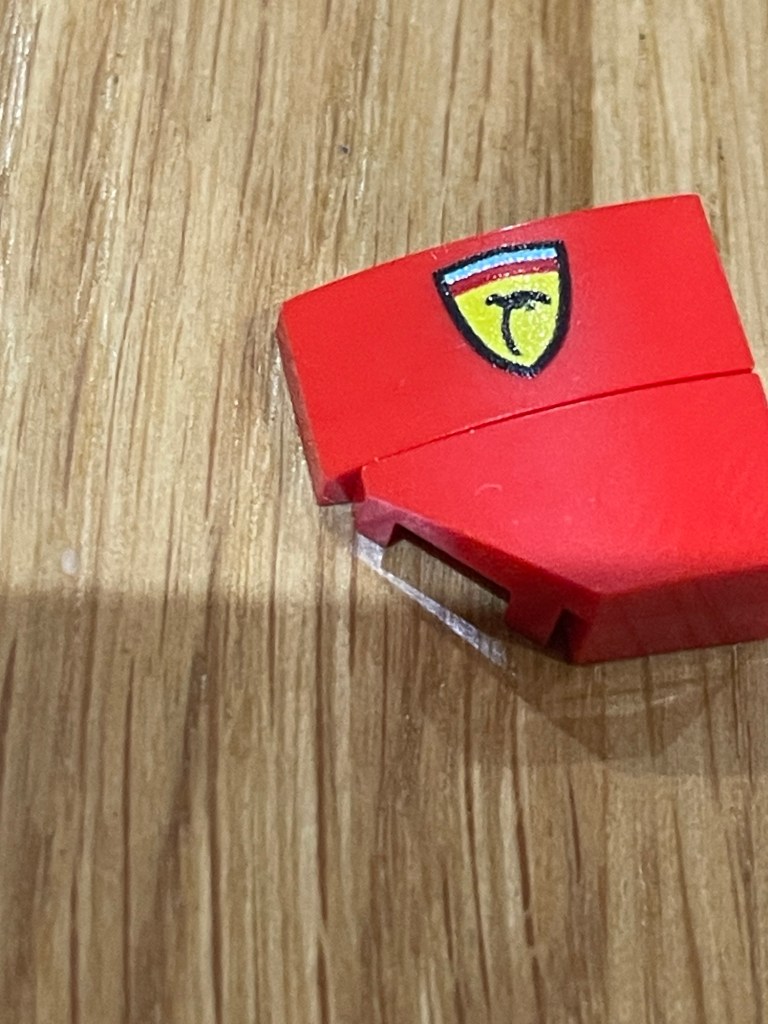
But before continuing… I want to share a bit of an extra feature I added in to some of the prints… You will see an extra “gloss” area over the “teardrop” shape on this curved slope. This is whats known as a “spot varnish” or “dropgloss” and it is a specific special effect possible on UV printing. And for a project like this… why not go that extra step to make it pop! its also important to note that a dropgloss can be added to and raised… layer by layer. For this piece, this is just a single dropgloss.
With all the parts printed, checked and ready to go… it’s time to get back to the instructions… only this time… for the actual full build!
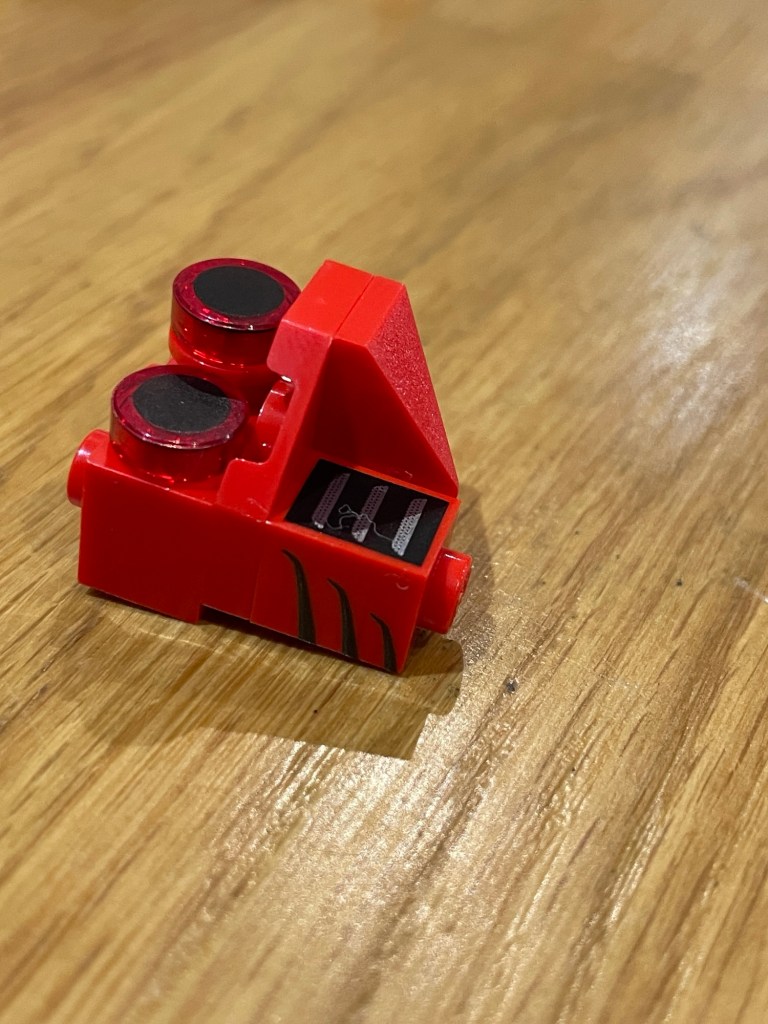
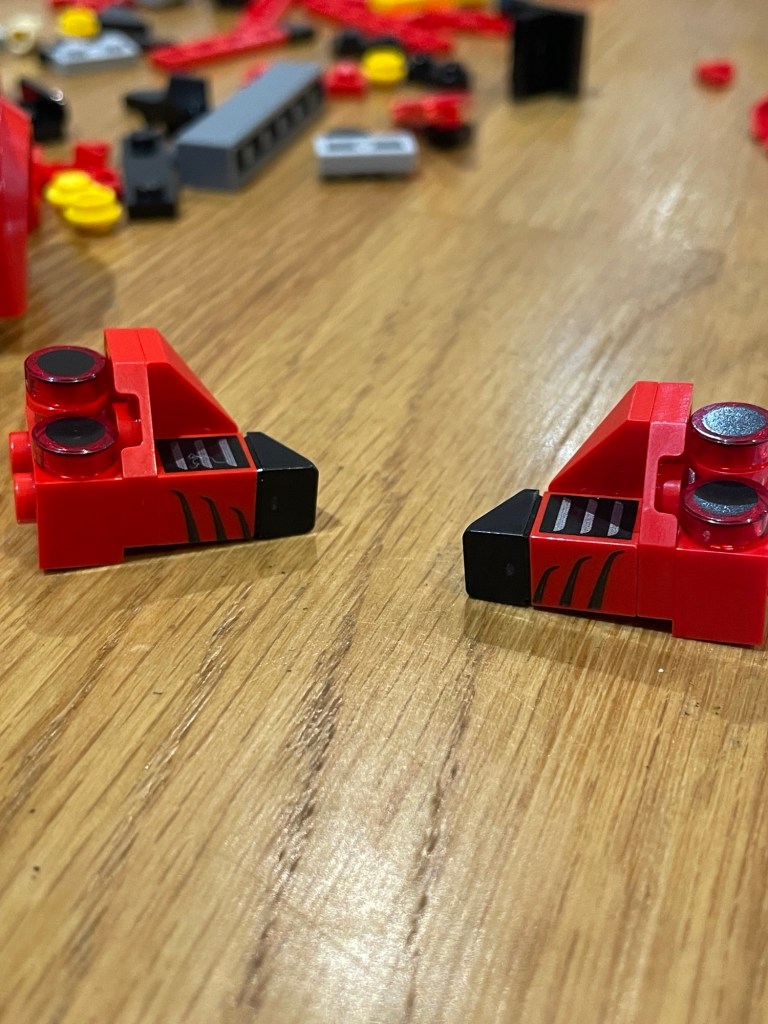

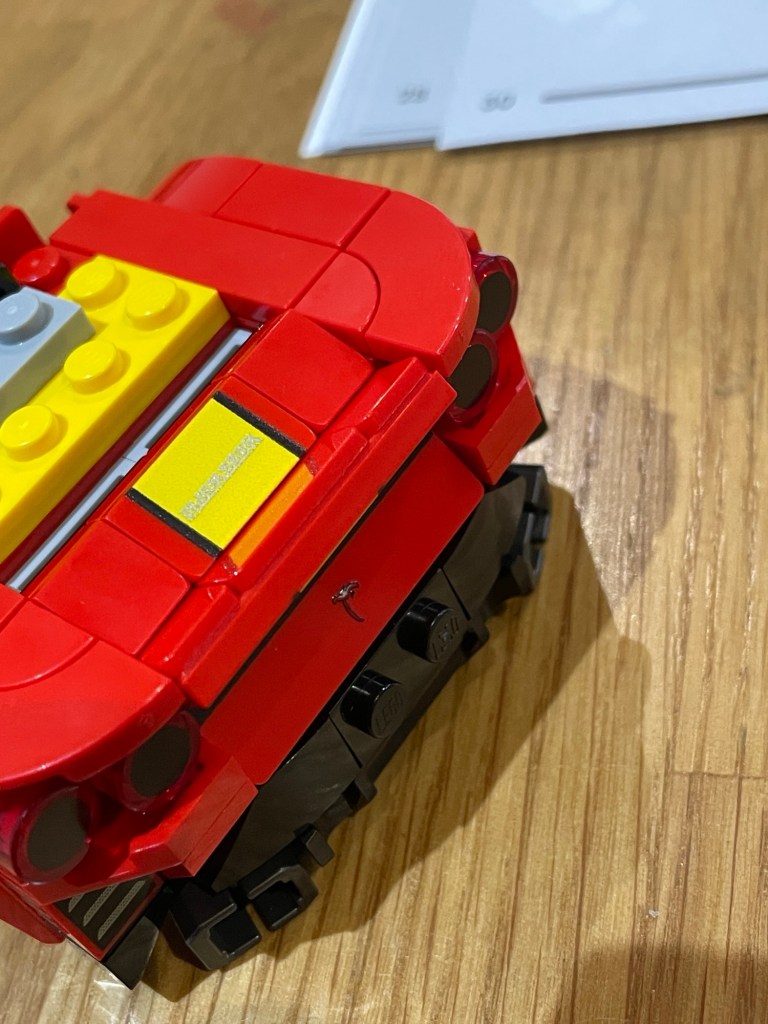


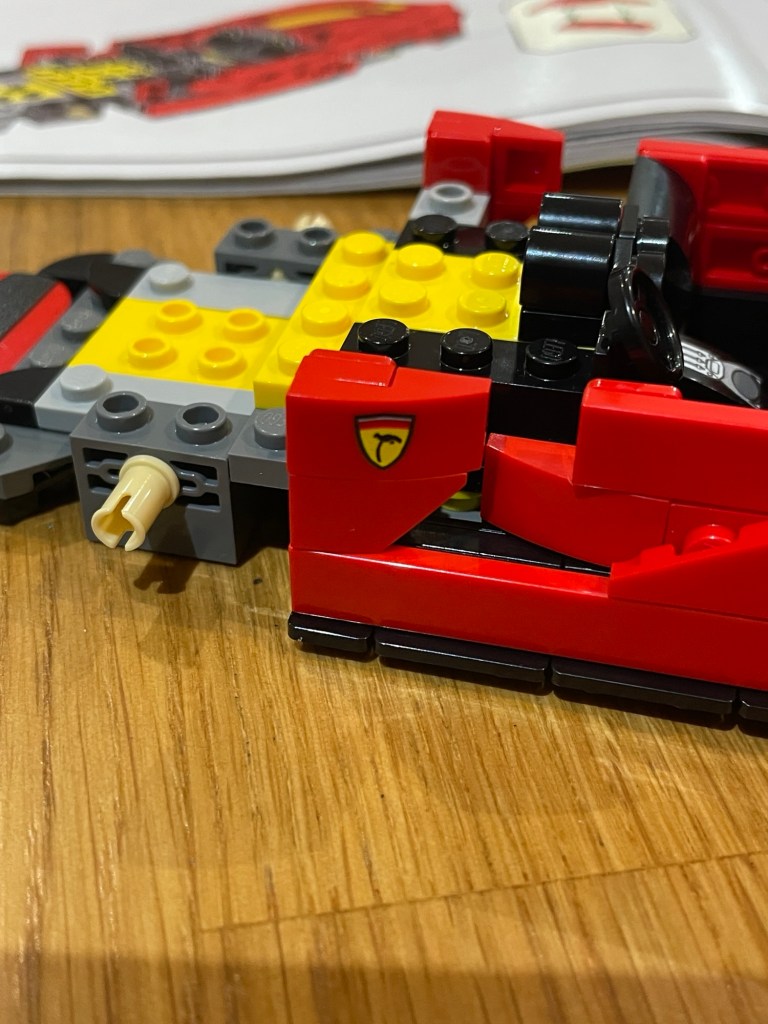
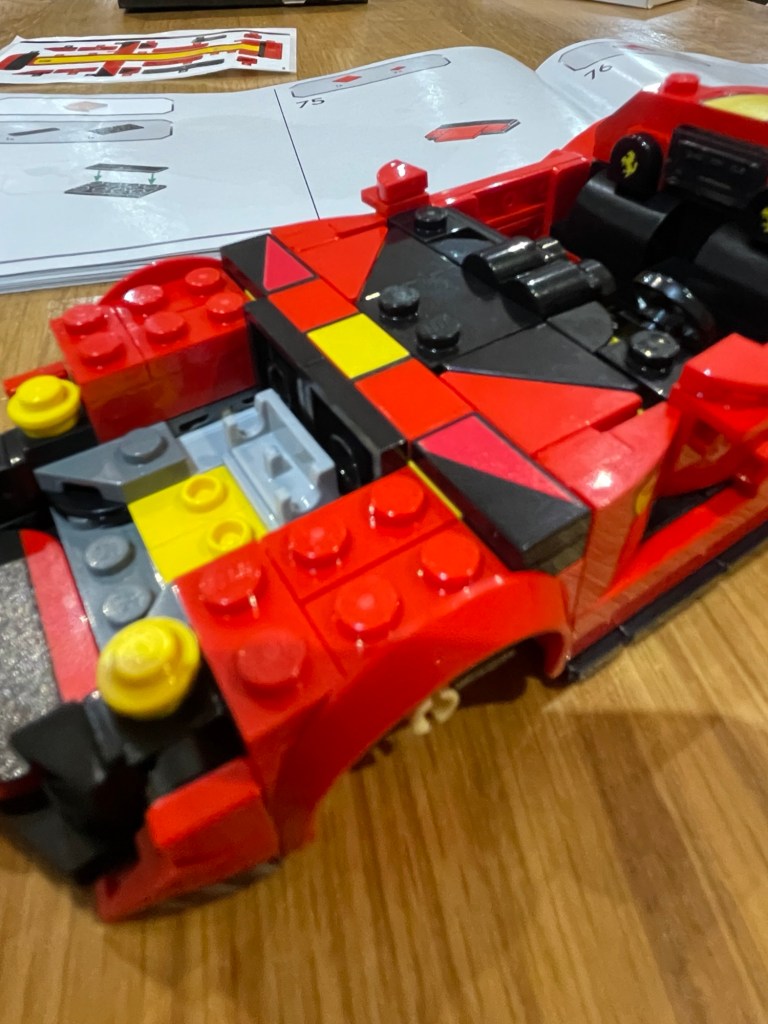
And after a good fun build session… it was time to take a step back and take in the final beast…
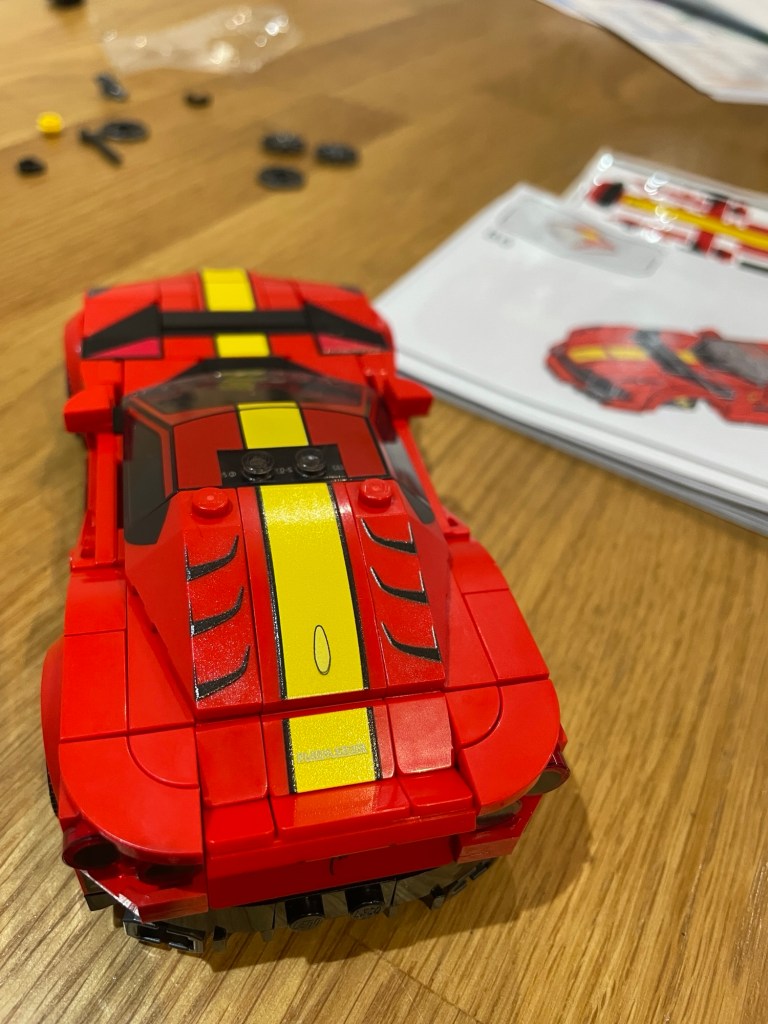
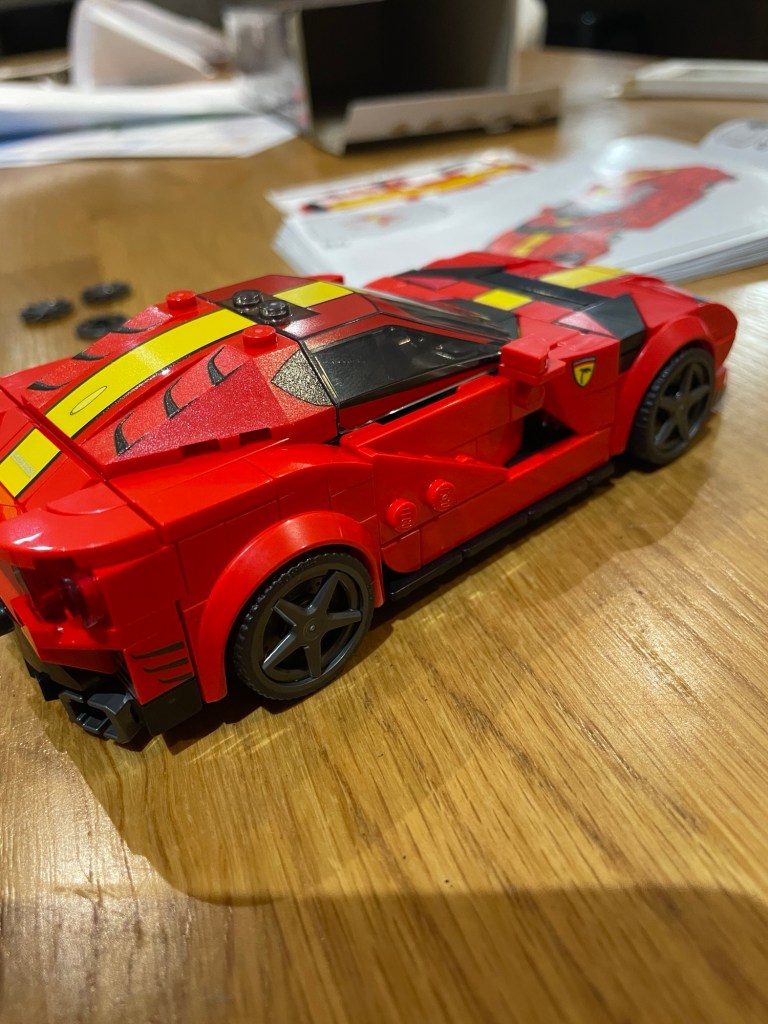

What a project! What a challenge! And what an awesome result!
Im not a “car guy”… but there is something really cool about customising a brick build with UV print precision and effects techniques!
If you have custom brick printing needs, be sure to reach out to Wez’s World to find out how your ideas can be made reality!
Wez’s World is NOT affiliated with nor does not claim to be trading as part of LEGO Group.
LEGO is a registered trademark of the LEGO Group
